
While often treated as simple tasks, VCT preparation and finishing are a science. The final result depends on a deep understanding of substrate conditions, adhesive curing, finish compatibility, and strict site controls. A misstep anywhere in the sequence can lead to costly rework and unnecessary downtime.
This article breaks down the essential steps for a successful VCT flooring project, from initial substrate assessment to the final maintenance handoff. We’ll cover preparation requirements, installation and curing, finishing best practices, and how to avoid common failures, particularly in occupied environments.
Key Takeaways
- A successful installation begins with a sound, clean, dry, and level substrate.
- New VCT requires a specific adhesive cure period; aggressive stripping can compromise the bond.
- Finish selection must align with the tile manufacturer’s specifications and the facility's maintenance program.
- Projects in occupied facilities demand rigorous planning for phasing, access, dust, and odor control.
- Thorough documentation of products, tests, and procedures is crucial for maintenance and warranty.
What Is VCT Tile Floor Preparation and Finishing?
Vinyl Composition Tile (VCT) is a durable and widely used resilient flooring material in commercial settings. Its performance depends equally on two distinct phases: the quality of the tile installation and the protective floor finish system applied over it.
Preparation is the critical first stage. It involves evaluating the existing floor and substrate so it is ready to receive new tile. This includes:
- Removing dust, grease, old adhesives, and other contaminants
- Correcting uneven areas, cracks, and joints with compatible patching compounds
- Assessing and mitigating moisture or alkalinity issues in the concrete slab
- Planning the tile layout for a balanced, professional appearance
Finishing protects newly installed VCT after the adhesive has cured. It is not the same as routine daily cleaning or sealing a raw concrete slab. The typical sequence is:
- Clean the tile to remove factory residue and construction soil
- Apply compatible floor finish in several thin, controlled coats
- Build a uniform wear layer that resists abrasion, simplifies maintenance, and improves appearance
Terms like "sealer," "polish," and "finish" are often used interchangeably, but they can mean different products. Always follow the product manufacturer’s technical data sheets and the flooring manufacturer’s documentation for a compatible, coordinated system.
Why Preparation and Finishing Matter in Commercial Facilities
In a busy commercial facility, flooring failure is an operational disruption, not only an aesthetic problem. Proper VCT preparation and finishing directly impact safety, maintenance costs, and the floor's lifespan.
Substrate imperfections are a primary cause of floor failure. Dust, old wax, moisture, or unevenness can prevent the new adhesive from forming a strong bond. These issues can "telegraph" through the new tile, leading to visible defects, tile movement, and premature wear.
According to Armstrong Flooring, using the wrong trowel size can deposit too much or too little adhesive, causing bleed-through at the joints or a weak bond.
A correctly applied finish system drives efficient maintenance. The finish, not the tile itself, becomes the renewable surface that takes the daily abuse of foot traffic and rolling loads. This protective layer simplifies soil removal, improves appearance, and cuts the need for aggressive, costly restoration later.
For occupied environments such as active federal offices, hospitals, or multi-tenant buildings, the process is even more critical. Work must be planned around:
- Pedestrian routes and tenant access
- Furniture and systems furniture
- Security procedures and required escorts
- Noise, dust, and odor mitigation
- Ventilation and cure times for safe re-occupancy
Skipped steps show up as lifting tiles, adhesive failure, embedded soil, and trip hazards—failures that create liability and force expensive rework.
How the Process Works
A successful VCT installation follows a structured, end-to-end workflow. Each step builds on the last, and compromising at any stage jeopardizes the final outcome.
Step 1: Survey the Space and Plan the Work
Before ordering materials, survey the site. Document substrate type, existing damage, moisture concerns, and access restrictions.
In an occupied facility, planning is critical. Build a work plan that covers:
- Material staging areas
- Waste removal routes
- Temporary walkways
- Ventilation controls
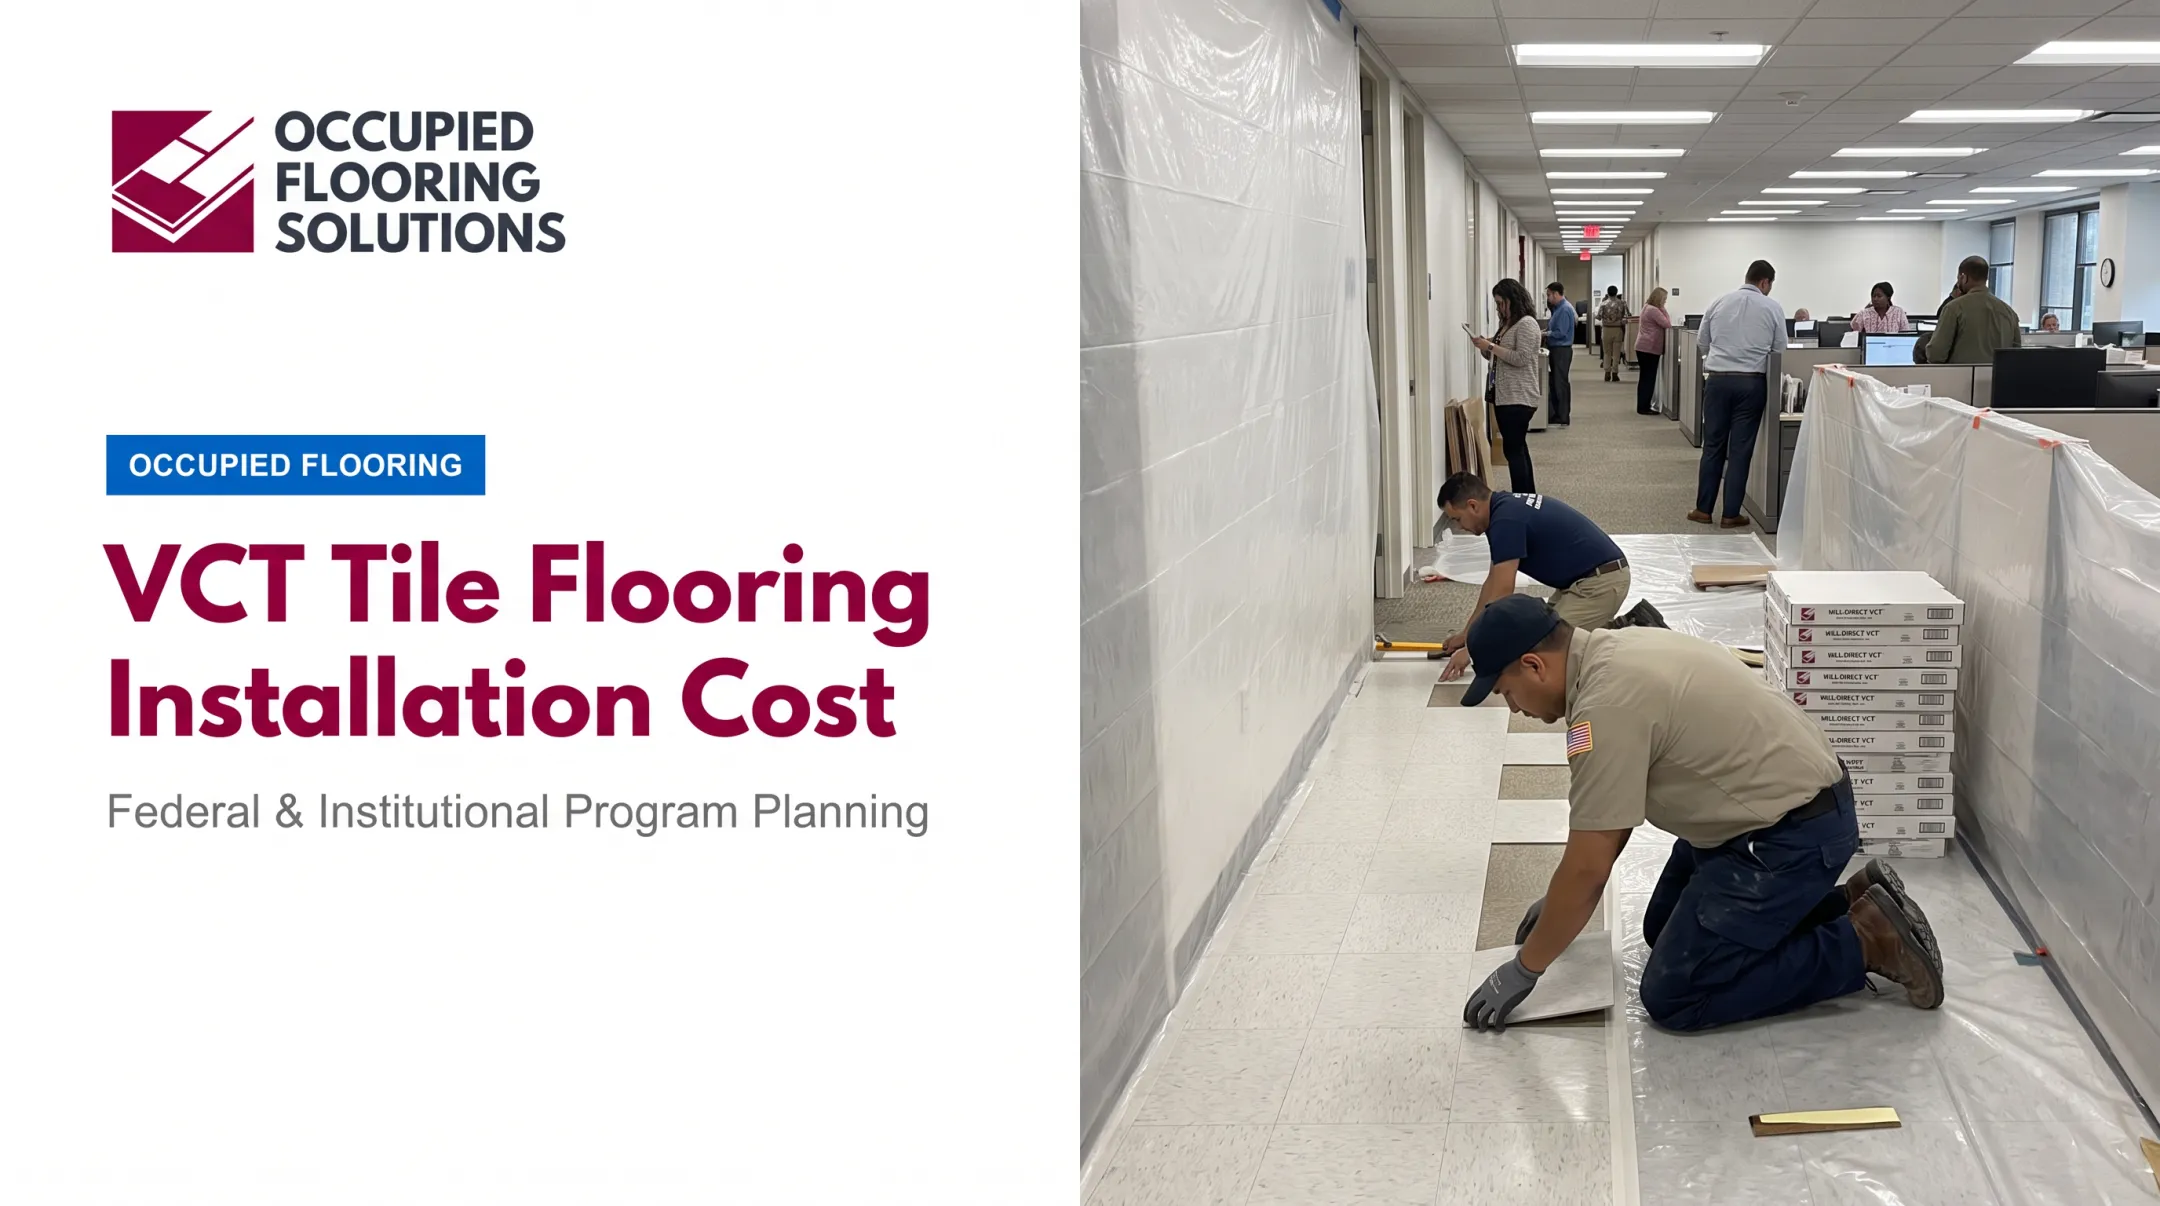
On occupied programs, Occupied Flooring Solutions treats this as controlled preparation: phasing plans, workspace sequencing, and asset tracking so operations stay online during the work.
Step 2: Prepare the Substrate
The substrate must be clean, dry, smooth, and structurally sound.
- Clean: Remove dust, grease, incompatible coatings, and old adhesive residue.
- Smooth: Patch high spots, low areas, and cracks with a compatible cementitious compound so imperfections will not telegraph through the VCT.
- Test: On concrete, run moisture and alkalinity tests before adhesive goes down.
ASTM F710 is the standard practice for preparing concrete floors and calls for testing regardless of slab age. Limits are adhesive-specific—for example, Tarkett’s 100 Clear Thin Spread allows up to 90% RH, while 975 Two-Part Urethane caps at 85%.
- Safety: Treat pre-1980s tile or mastic as potentially asbestos-containing until a qualified professional proves otherwise.
OSHA rules require that presumption. Do not sand, grind, or aggressively remove these materials without proper controls.
Step 3: Acclimate, Lay Out, and Install the VCT
Follow the manufacturer’s instructions precisely. Typical sequence:
- Acclimation: Store VCT and adhesive in the install area at least 48 hours so they match room temperature and humidity.
- Layout: Snap centerlines and dry-lay tiles for a balanced field with minimal slivers at the edges.
- Adhesive application: Trowel at the specified coverage rate. Honor open time (wait before placing tile) and working time (window before tack is lost).
- Installation: Set tiles into the adhesive carefully—repositioning is often difficult once placed.
- Rolling: Roll the full floor with a 100-pound, three-section roller for a firm, uniform bond.

Step 4: Allow the Installation to Cure
Adhesive still needs time to reach full bond strength. Cure times depend on the adhesive, substrate, and site conditions.
Some Tarkett VCT installation systems require no foot traffic for 24 hours and at least 72 hours before initial cleaning or moving heavy furniture. Use the adhesive manufacturer’s schedule, not appearance, as the go/no-go.
Step 5: Prepare the New VCT for Its First Finish
New VCT usually does not need a full strip. Harsh stripping chemicals can interfere with adhesive cure and scuff the new floor.
After the 72-hour cure, do an initial clean or top scrub per manufacturer guidance: neutral cleaner, medium-aggression pad (such as blue), remove factory film and construction soil, rinse thoroughly, and let the floor dry completely.
Step 6: Apply, Cure, and Inspect the Finish
With the floor clean and dry, you can begin finishing.
- Select a finish: Use a commercial finish compatible with VCT and matched to traffic level and maintenance program.
- Apply coats: Lay three to five thin, even coats with a clean microfiber mop. Let each coat dry fully; avoid puddles and streaks.
- Cure and inspect: Keep traffic off until the final coat cures. Check for uniform sheen, missed spots, or embedded debris before returning the area to service.
Key Factors and Common Problems
Even with a defined process, problems still show up. Most come from skipped checks or a few persistent misconceptions.
Critical Success Factors Checklist
- Substrate Condition: Is it smooth, sound, clean, and dry? Have moisture and pH been tested and confirmed to be within the adhesive’s limits?
- Material Compatibility: Are the VCT, adhesive, patch, cleaner, and finish all designed to work together as a system?
- Environmental Conditions: Is the space maintained at the correct temperature and humidity before, during, and after installation?
- Installation Details: Was the tile acclimated? Was the layout balanced? Was the floor rolled properly?
- Facility Demands: Does the work plan account for foot traffic, rolling loads, and phased occupancy needs?
- Maintenance Capability: Does the chosen finish match your staff’s equipment, training, and cleaning schedule?
Common Misconceptions
- "A smooth-looking floor is ready for tile." Not necessarily. Hidden moisture, alkalinity, or weak patches can still cause bond failure. Testing is mandatory.
- "New VCT must always be stripped." False. Most manufacturers recommend a top scrub or initial cleaning, not an aggressive strip, which can harm the adhesive bond.
- "Floor finish will fix a bad installation." Floor finish is a protective layer, not a corrective one. It cannot fix loose tiles, an uneven substrate, or adhesive bleed-through.
Watch for these common failure signals:
- Tile curling or open joints
- Adhesive oozing between tiles
- Finish peeling or clouding
These usually trace back to gaps in preparation or curing. Document moisture test results, product batch numbers, and site conditions so you can diagnose issues and support warranty claims.
When Professional Preparation and Finishing Are Appropriate
While an experienced in-house team can handle routine maintenance, professional coordination is invaluable for larger or more complex projects. A qualified commercial flooring partner is especially critical when:
- The facility is occupied and must remain operational
- The substrate condition is uncertain or needs significant remediation
- The project is large, phased, or spans multiple locations
- Legacy flooring may contain regulated materials such as asbestos
A professional partner manages the entire process, from assessment and material planning to logistics, installation, and final inspection. For property managers and facility teams overseeing a portfolio, a standardized program with pre-approved materials and a single point of contact improves consistency and cost control across all sites.

At Occupied Flooring Solutions, we specialize in these complex scenarios. Our programs serve federal, institutional, and mission-critical commercial environments where business continuity comes first.
We coordinate the full occupied scope:
- Furniture lifts and phased zone work
- Secure-site and escort-required access
- After-hours and weekend execution
- Closeout documentation and inspection support
Portfolio-level management gives you predictable outcomes, transparent reporting, and one controlled program instead of disconnected site-by-site projects.
Conclusion
Successful VCT tile flooring is the result of a deliberate, connected process. It starts with evaluating and preparing the substrate, continues with a precise installation and proper curing, and finishes with an approved cleaning method and a compatible finish system. There are no shortcuts.
The correct procedure always depends on the specific VCT, adhesive, substrate, and facility requirements. In occupied or multi-site facilities, the logistical components—phasing, communication, safety, and documentation—are just as important as the physical flooring work itself.
Facility managers who treat prep, install, cure, and finish as one controlled system get durable, consistent VCT—and protect the long-term value they are accountable for.
Frequently Asked Questions
What is the best floor finish for VCT flooring?
The "best" finish is a commercial-grade product that is compatible with your VCT, traffic levels, and maintenance program. Verify the product’s technical data sheet and follow the flooring manufacturer's recommendations rather than choosing based on gloss alone.
What do you seal VCT tile with?
VCT is protected with a compatible floor finish system, sometimes including a sealer that creates a uniform base for topcoats. Do not use concrete sealers or household products. Follow the flooring and finish manufacturers' instructions for the correct system.
How long should you wait before finishing new VCT flooring?
The wait time depends entirely on the adhesive’s cure requirements, which are typically 72 hours for most systems before allowing wet cleaning or heavy traffic. Always confirm readiness by checking the specific product instructions before scrubbing, finishing, or placing furniture.
Does new VCT need to be stripped before applying finish?
Generally, no. Aggressive stripping is not recommended on new VCT and can harm uncured adhesive. Manufacturers typically specify an initial top scrub with a neutral cleaner and medium-aggression pad after the cure period.
What causes VCT tiles to lift after installation?
Tiles lift or curl from substrate moisture, surface contamination, an uneven subfloor, incorrect adhesive, insufficient rolling, or traffic before the adhesive fully cures. A professional site assessment is the best way to diagnose the cause.