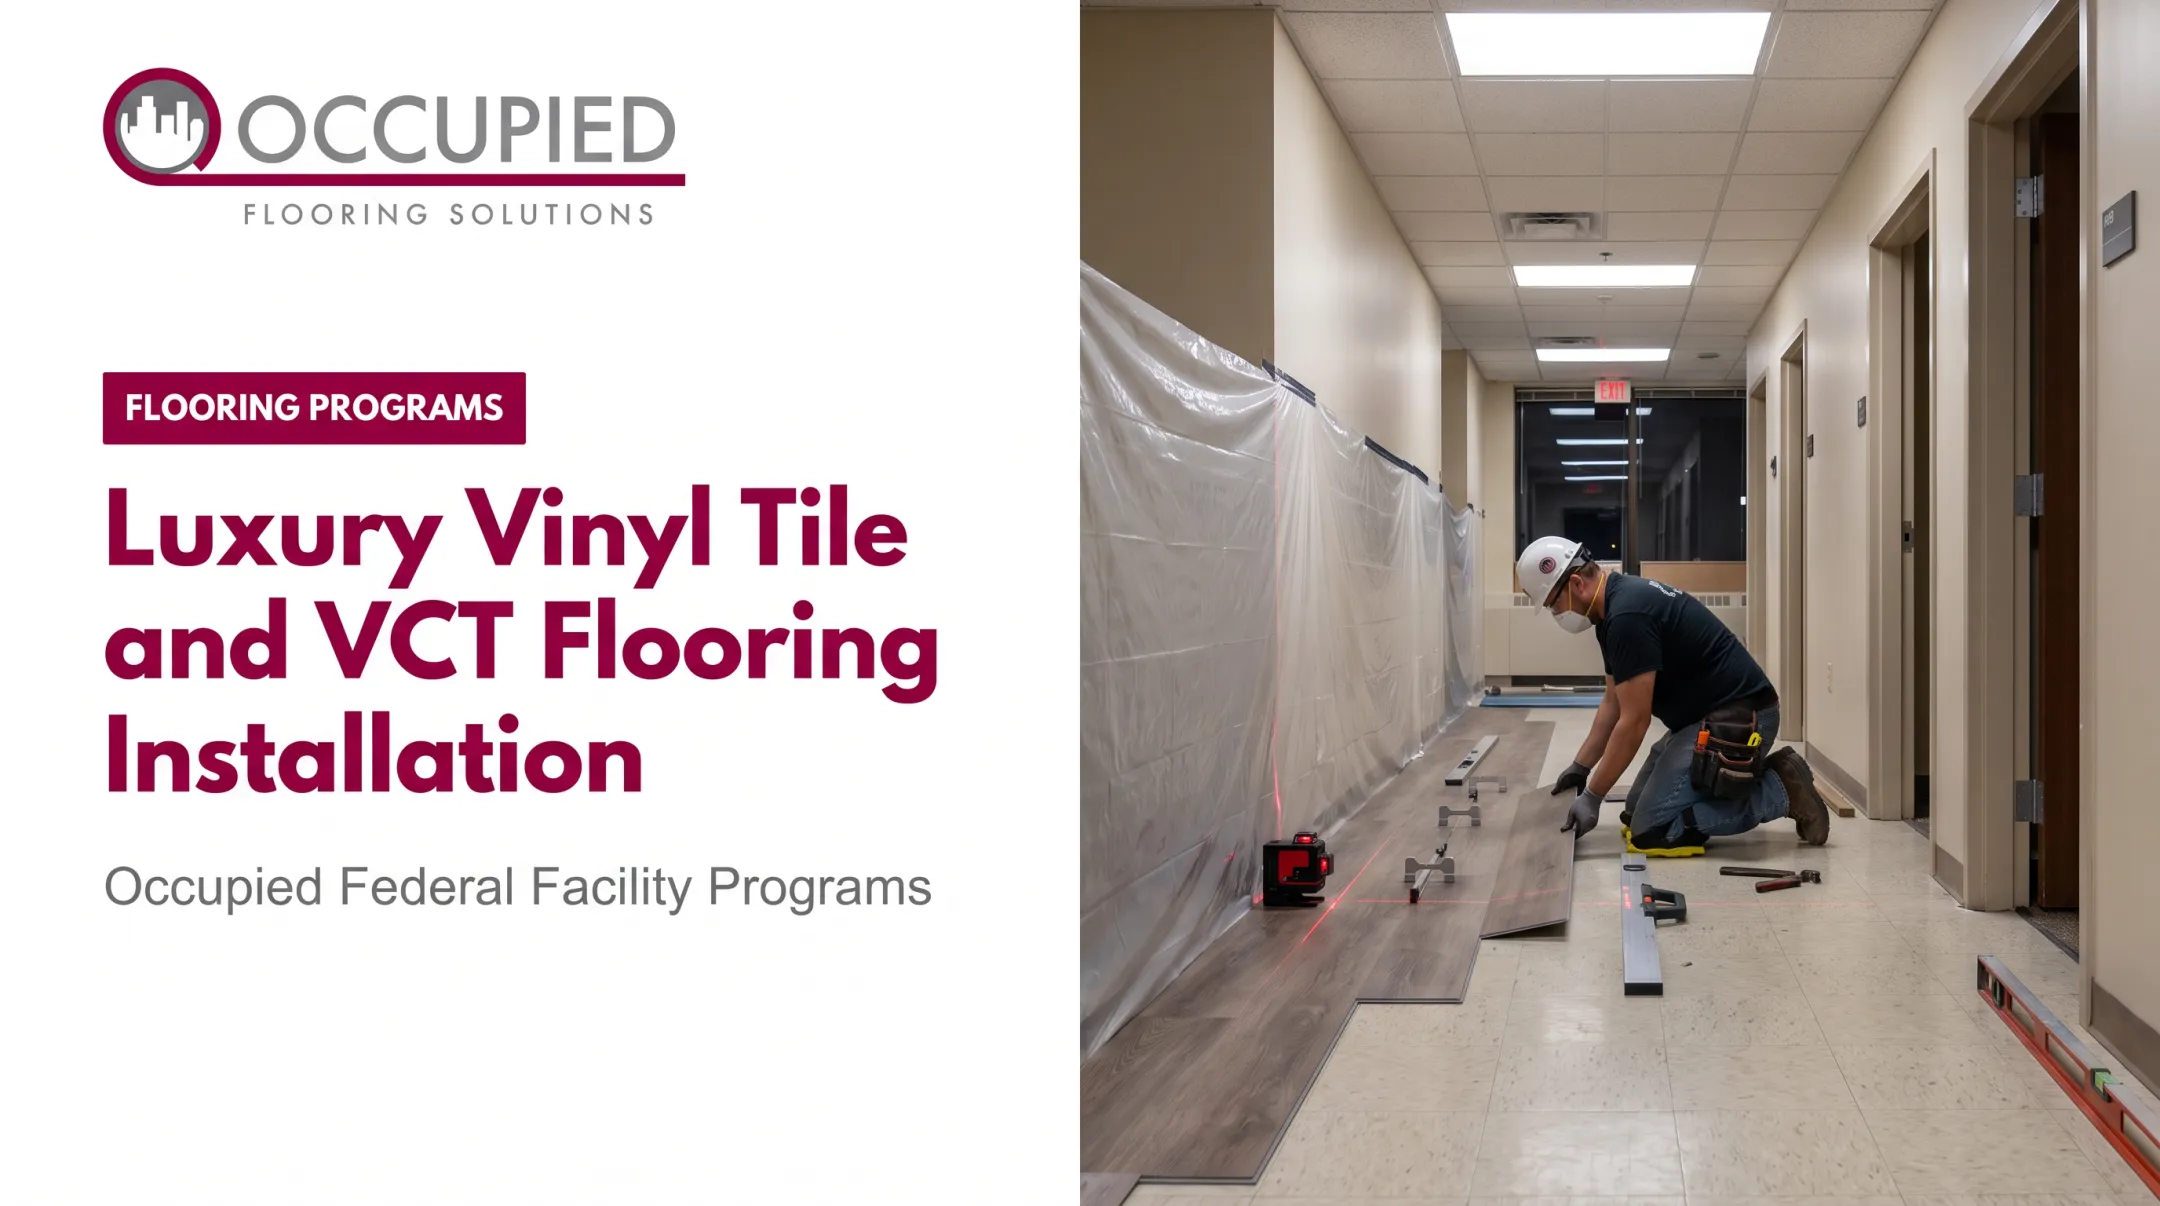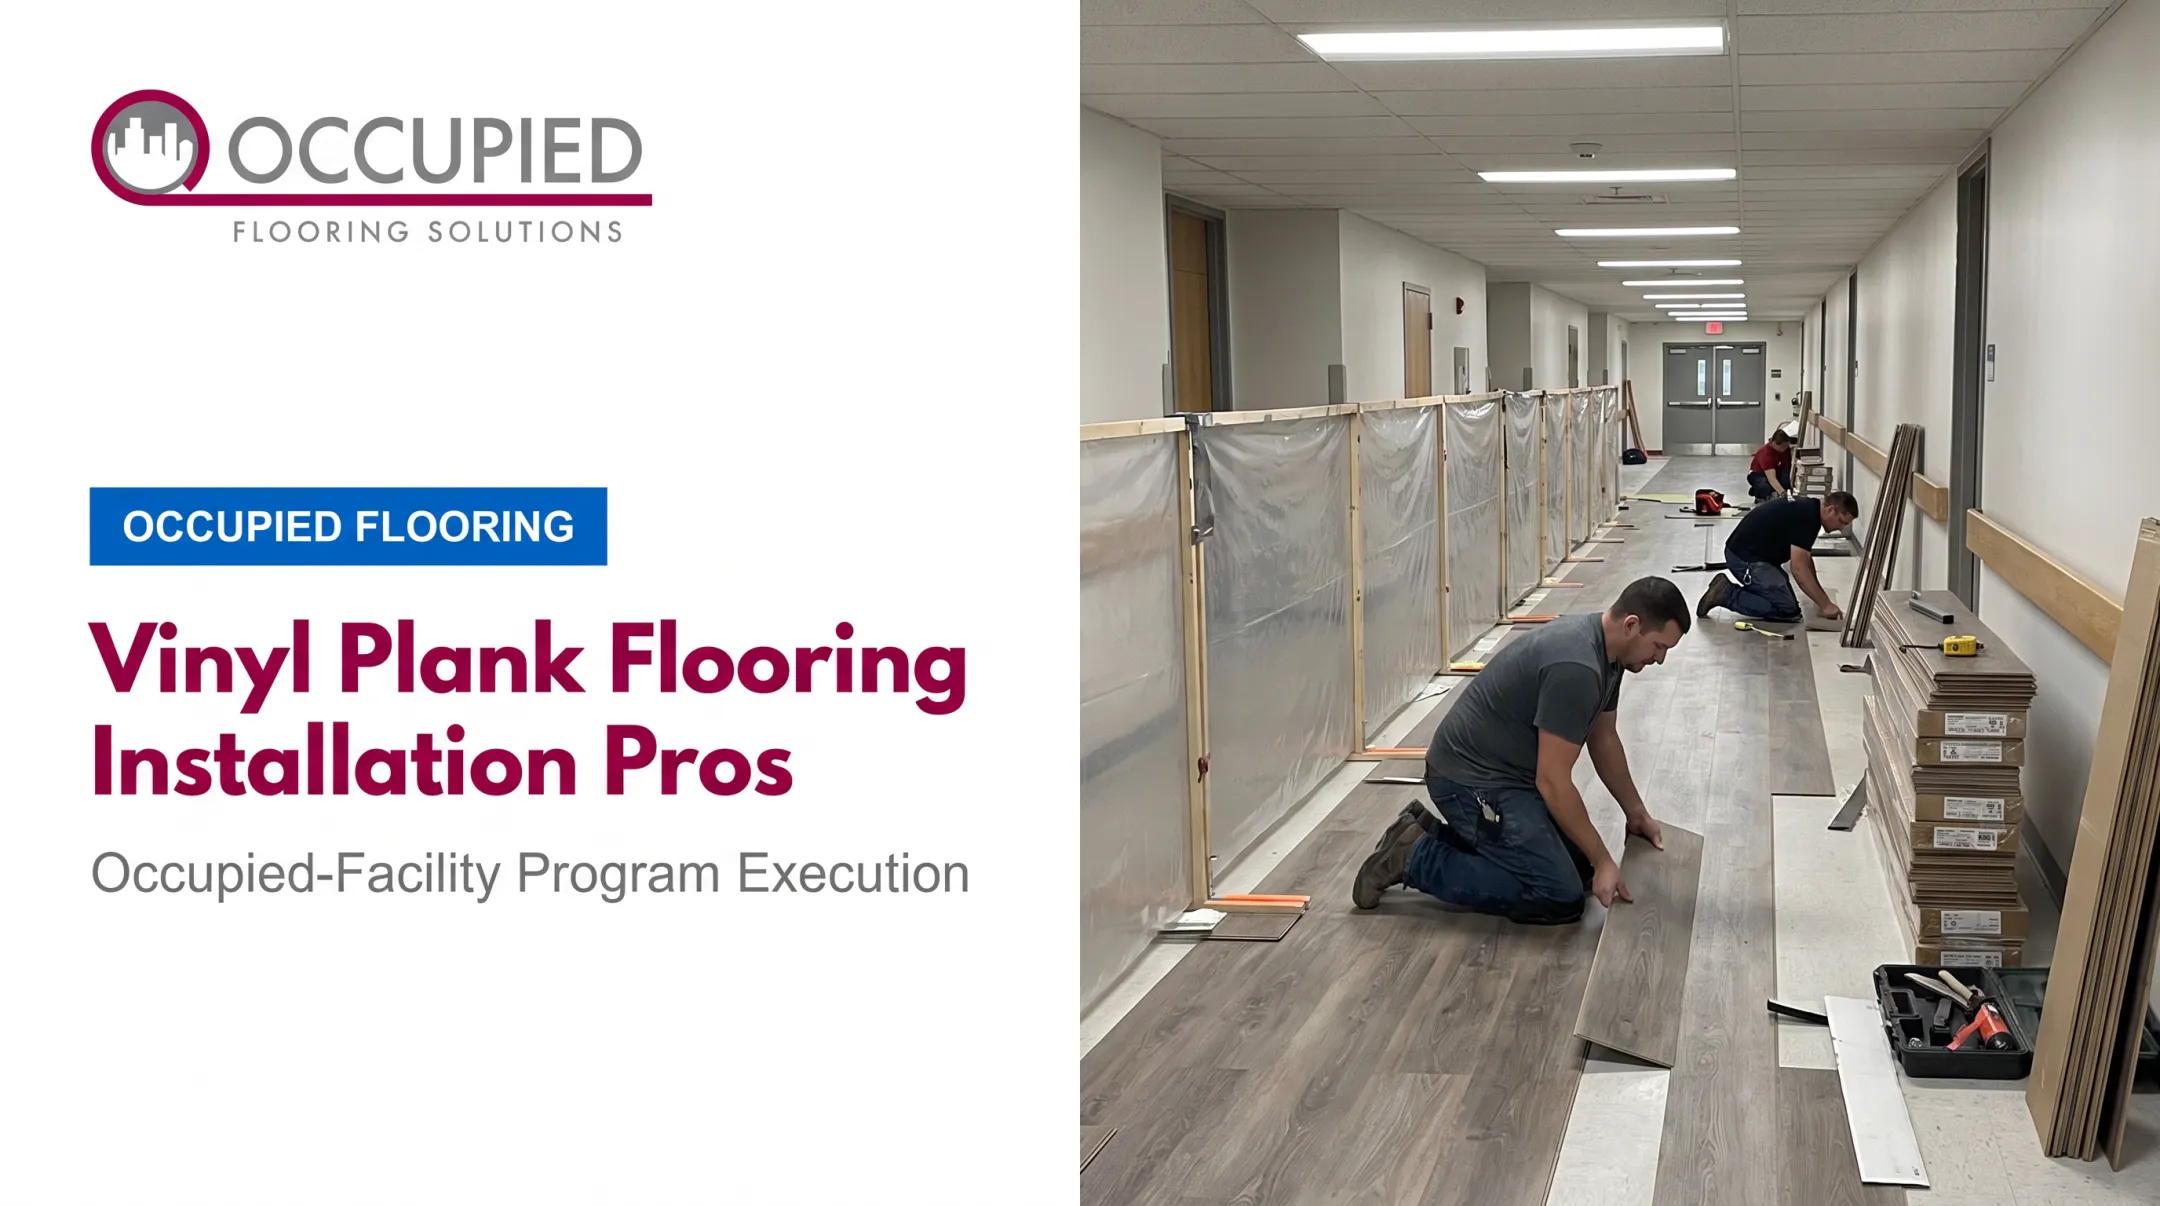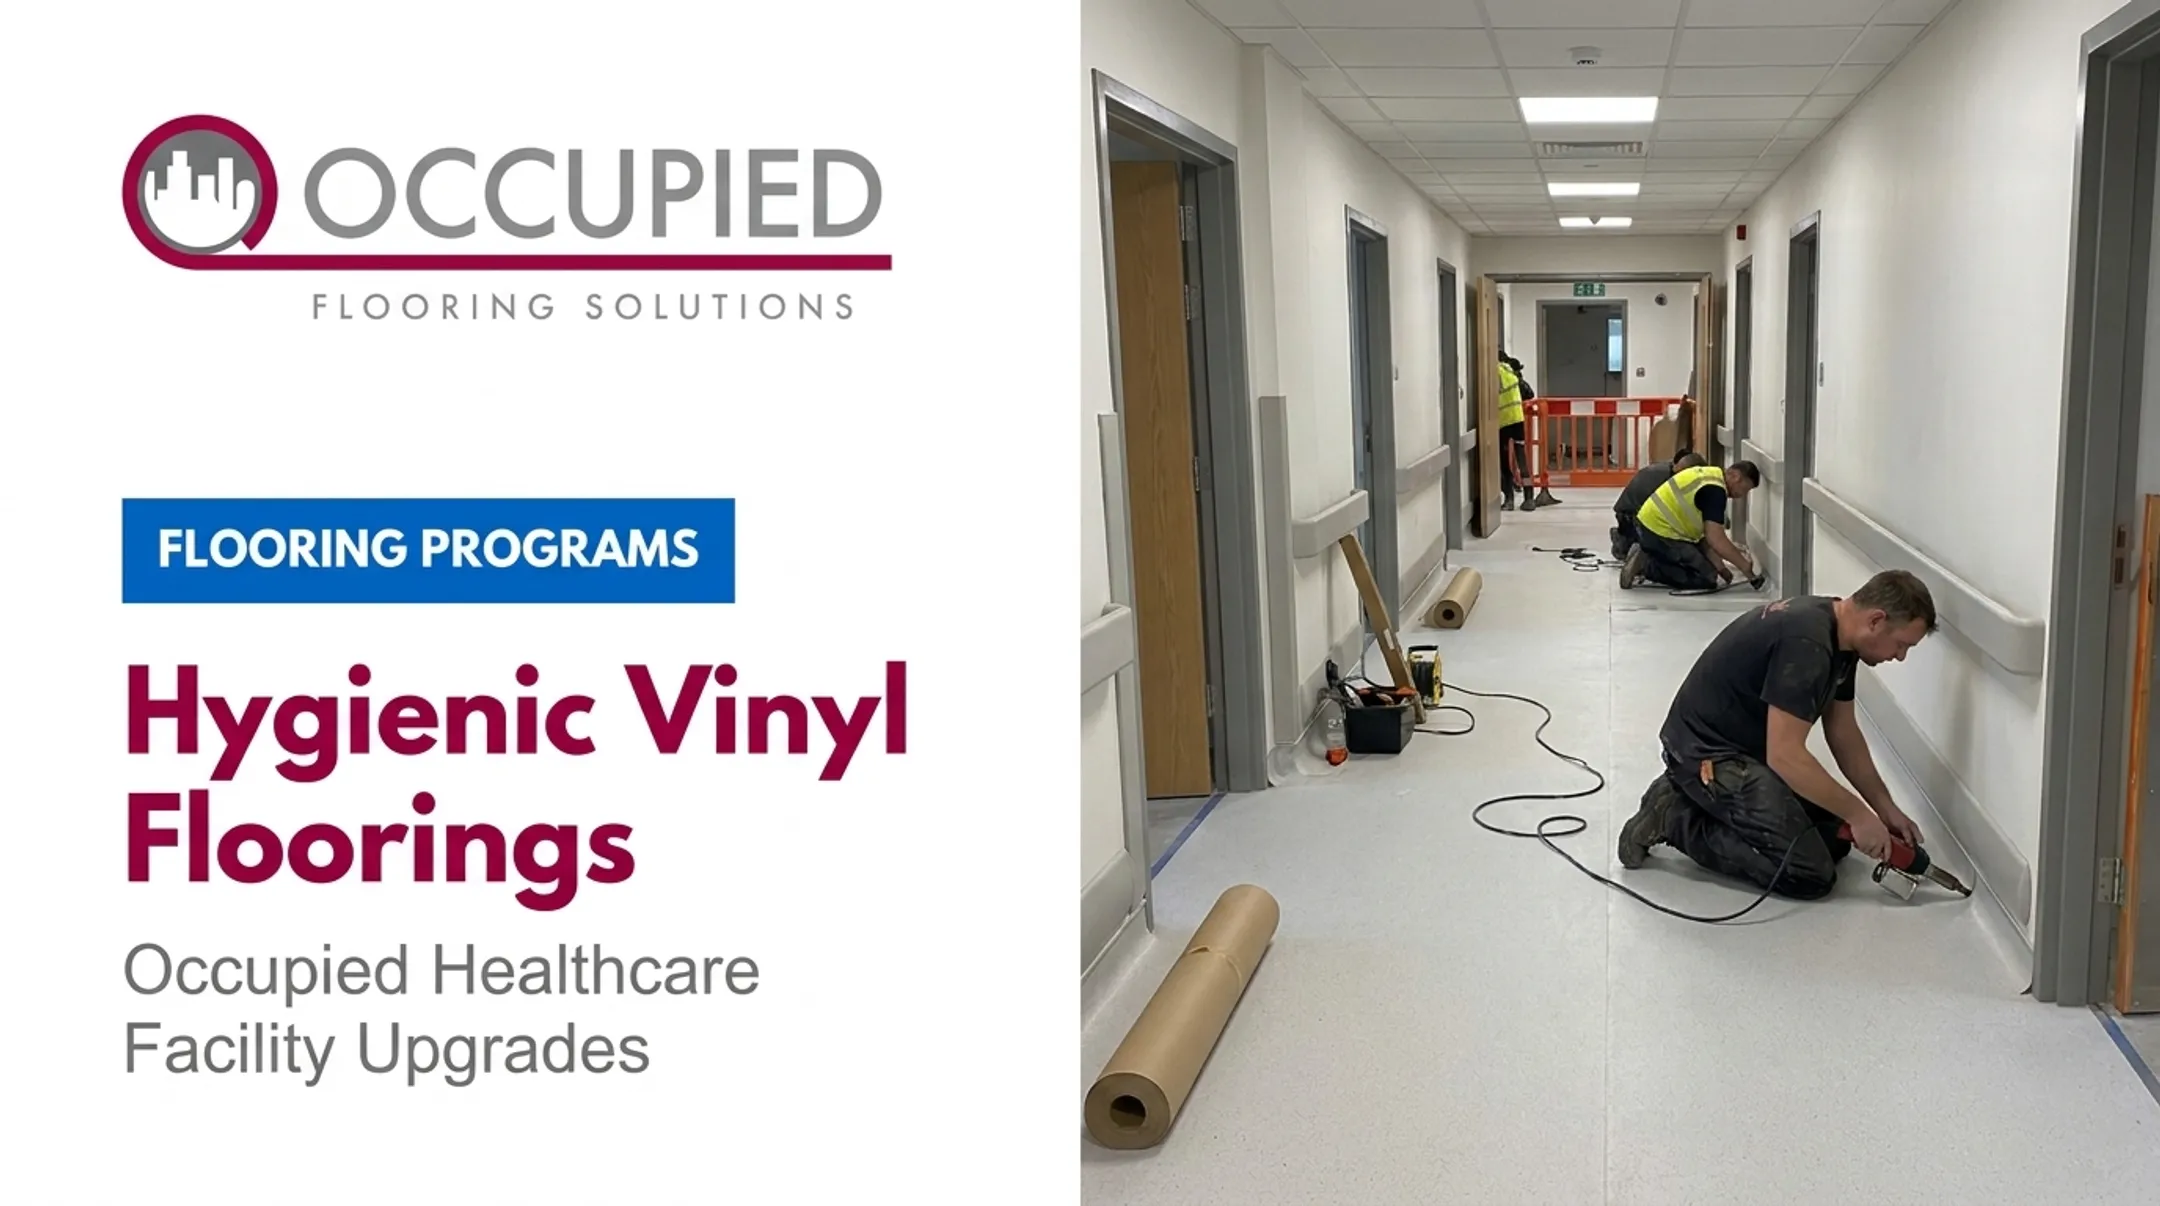

Substrate condition, moisture levels, product compatibility, and adhesive requirements determine whether that floor lasts 15 years or fails in 15 months. Many facility teams underestimate this gap until they're dealing with peaking seams or a warranty claim that gets denied because a moisture test was skipped.
An experienced DIYer can usually handle a small floating-floor project in a spare room. Glue-down systems, sheet vinyl, commercial spaces, occupied buildings, and security-controlled facilities are a different story — they call for trained installers who understand adhesive chemistry, substrate testing, and phased scheduling.
Rushed installations cause gapping joints, buckling, adhesive failure, and premature wear. This guide covers preparation, tools, step-by-step methods, occupied-space coordination, and validation, using manufacturer instructions as the controlling reference throughout.
Key Takeaways
- Identify your installation method first: click-lock, glue-down, or sheet vinyl each have different rules.
- Substrate condition matters more than installation speed — moisture and flatness issues cause most failures.
- Moisture testing and manufacturer acclimation requirements are non-negotiable, not optional steps.
- Occupied and commercial jobs need phased access, dust control, and documented sign-off before reopening.
- Never return a space to service until joints, seams, and adhesive have passed inspection.
Installation Guide for Resilient Vinyl Flooring
The process breaks into seven stages:
- Product selection and site assessment
- Substrate prep
- Acclimation
- Layout
- Bonding or locking
- Trim and transitions
- Cleaning and validation
Timeline depends heavily on context. A 500-square-foot vacant conference room with a floating floor might take a day. A 10,000-square-foot occupied office floor with systems furniture, adhesive cure windows, and after-hours access restrictions can take weeks. Room size, furniture relocation, product format, and substrate repairs all shift the schedule.
Prerequisites and Safety Considerations
Before materials arrive, confirm the site is actually ready:
- Environmental conditions: Working HVAC, appropriate temperature and humidity range, adequate lighting, and safe access
- Substrate inspection: Check for cleanliness, dryness, soundness, flatness, cracks, contaminants, and old adhesive residue
- System matching: Verify whether the product requires adhesive, a specific primer, underlayment, or moisture mitigation
Moisture testing deserves particular attention. ASTM F710 is the governing practice for preparing concrete floors to receive resilient flooring, and it calls for both moisture and surface pH testing before installation — a visually dry concrete slab is not the same as a slab that passes testing.
Manufacturer instructions vary here. Shaw's commercial glue-down guidance, for example, specifies temperatures between 65-85°F, 48 hours of material acclimation, and flatness within 3/16 inch over 10 feet. Those figures don't automatically transfer to a different product line.
Safety and occupied-facility controls include:
- PPE, ventilation, and dust containment
- Wet-adhesive precautions and tool safety
- Protected egress routes and signage
- Coordination with building occupants or security personnel
Do not proceed if moisture results are unresolved, the substrate is unstable or contaminated, environmental conditions are unsuitable, or an occupied area cannot be safely isolated.
Tools and Parts Required
Core tools apply across most projects:
- Tape measure, straightedge, and chalk line
- Utility knife or flooring cutter
- Spacers (where required) and a tapping block
- Rollers for adhesive systems
- Seam tools for sheet products
- Cleaning supplies
Project-dependent materials often include patching compound, primer, moisture mitigation product, approved adhesive, underlayment, transition profiles, and wall base.
Commercial glue-down and sheet-vinyl work frequently needs specialized equipment. Mannington's homogeneous sheet installation guidance, for instance, calls for a notched trowel, a short-nap paint roller for back-rolling adhesive, a 100-pound three-section floor roller, and a heat-welding gun with compatible weld rod for seams. Substitutions should never conflict with the manufacturer's written instructions.
How to Install Resilient Vinyl Flooring (Step-by-Step)
Treat this as a controlled sequence. Shortcuts at any stage (substrate prep, layout, adhesive coverage, or curing) create defects that are difficult or impossible to fix once the floor is in service.
Prepare and verify the site. Remove existing flooring where required, clean the substrate, complete repairs and leveling, confirm moisture results, and establish the layout. Plan how occupants, furniture, and access routes will be managed throughout.
Acclimate and inspect the material. Follow the product-specific acclimation window. Check cartons or rolls for damage, color or lot mismatches, and defects before permanent placement.
Establish the layout before cutting. Plan plank direction, seam locations, border widths, door clearances, and staggered joints so the finished floor avoids narrow or unstable pieces.
Install the selected system correctly:
- Engage click-lock joints without forcing them
- Apply adhesive at the specified coverage and open time for glue-down products
- Follow the approved seaming and welding procedure for sheet vinyl
Complete perimeter and detail work. Maintain required clearances, fit around columns and penetrations, and install transitions and wall base without trapping a floating floor beneath fixed elements.
For occupied facilities, divide work into zones. Define daily protection, cleanup, access, and handoff requirements before advancing to the next phase.

This is where Occupied Flooring Solutions' approach diverges from a standard install. Rather than treating a room as one continuous job, the company's occupied methodology breaks work into three phases: controlled preparation, lift-and-replace execution, and verification.
Workstations and cubicles get lifted, not dismantled, and electrical and IT systems stay live throughout. That difference matters for a facility manager who can't afford to shut down a floor for a week.
Post-Installation Checks and Validation
Don't skip this stage. Hidden problems surface here before they become expensive ones.
Visual and structural checks:
- Consistent alignment and tight joints
- Flat transitions and complete adhesive contact where applicable
- Clean edges, undamaged surfaces, and correct trim
- No bubbles, ridges, gaps, peaking, or movement
Functional performance checks:
- Doors and thresholds clear properly
- Furniture and rolling-load clearances are adequate
- Equipment interacting with the floor operates normally
Cure and traffic timelines matter more than most people assume. Armstrong's VCT installation guidance calls for at least 72 hours before allowing rolling-load traffic on a properly adhered floor, and prohibits heavy wet washing for at least five days. Moving furniture back too early can undo days of careful bonding work.
Document everything: product and lot information, moisture results, substrate repairs, adhesive details, seam locations, punch-list items, photographs, and sign-off. Skipping validation turns a visible defect into a delayed failure, especially with moisture, adhesive cure, or occupied-space traffic in play.
Common Installation Problems and Fixes
Most vinyl flooring failures fall into three common patterns. Here’s how to spot each one and correct it before the damage spreads.
Issue 1: Planks or Tiles Gap, Shift, or Separate
Problem: Joints open, edges sit unevenly, or the floor moves under traffic.
Likely causes:
- Poor substrate flatness
- Debris in the locking profile
- Incorrect installation angle
- Damaged boards
- Inadequate adhesive coverage
- Premature traffic
Fix: Stop before the defect spreads. Decide whether the section can be taken apart or repaired in place. Correct the substrate or bonding issue, then replace damaged material per manufacturer guidance.
Issue 2: Buckling, Peaking, or Tenting
Problem: The floor rises at seams or edges, develops waves, or loses contact with the substrate.
Likely causes:
- Missing perimeter clearance
- Flooring trapped under fixed objects
- Moisture or excessive heat
- Insufficient acclimation
- Incompatible adhesive
Fix: Identify the cause before cutting or re-bonding. Clear moisture or restraint problems, restore perimeter gaps, and replace affected sections when warranty terms require it.
Issue 3: Bubbles, Hollow Spots, or Visible Seams
Problem: Portions of the floor sound hollow, show telegraphing, or have seams that stay visible or open.
Likely causes:
- Uneven or contaminated substrate
- Wrong adhesive or improper open time
- Inadequate rolling
- Poor seam prep
- Traffic before cure
Fix: Isolate the affected area and confirm the system’s adhesive and rolling requirements. Remove and reinstall the defective section with approved materials and full roll-down.

Pro Tips for Installing Resilient Vinyl Flooring Effectively
Treat installation as one connected building activity, not an isolated task. Schedule deliveries, furniture moves, substrate repairs, cure periods, cleaning, and occupant re-entry as linked steps rather than separate silos.
Field-tested practices that hold up on real jobs:
- Mock up complex patterns, multi-product transitions, or strict appearance details in a sample zone and get sign-off before rolling them out
- Protect finished flooring only with materials approved for that product and adhesive—wrong tape or coverings can mark a newly cured floor
- Log substrate tests, product batches, site conditions, adhesive data, and daily progress for warranty defense later
- Follow the manufacturer's traffic and cure limits, not a generic industry rule that may not match your vinyl
In occupied offices, systems-furniture floors, federal facilities, and multi-site portfolios, that coordination load stacks up quickly. Occupied Flooring Solutions runs occupied vinyl work as a controlled program rather than a one-off install:
- Controlled preparation
- Lift-and-replace execution
- Verification and return to service
Daily Status Reporting stays in place through each phase, and spaces are typically back in operation the next business day.
For federal and GSA-leased properties, crews are trained for secure, escort-required sites without breaking access protocols. Portfolio teams managing 5 to 500 locations get one national program instead of negotiating install quality site by site.

Conclusion
Resilient vinyl flooring only performs well when the product, substrate, installation method, environmental conditions, and finishing details all work together. Skip substrate testing, and even a premium product fails early.
Careful preparation, controlled phasing, manufacturer-compliant installation, and documented validation should outrank speed on every job—from 500 square feet to 50,000.
If you're a facility manager, portfolio team, contractor, or commercial buyer planning occupied or multi-site flooring work, Occupied Flooring Solutions can help plan a controlled installation program around your building, timeline, and security requirements.
Frequently Asked Questions
How much does it cost to install resilient flooring for 1,000 square feet?
Cost depends on product type, substrate repairs, moisture work, removal, layout complexity, labor rates, and whether the space stays occupied. Request a site-specific quote instead of relying on a generic per-square-foot figure.
What types of flooring are considered resilient flooring?
Resilient flooring is a broad category that includes sheet vinyl, LVT, LVP, rigid-core vinyl, and VCT, along with rubber, linoleum, and cork. Classification and installation requirements vary by product.
What should I put down before installing vinyl or other resilient flooring?
The correct prep layer depends on your product and substrate. It may be patch or leveling compound, primer, moisture mitigation, underlayment, or adhesive. Follow the manufacturer’s requirements rather than adding a generic layer that wasn’t specified.
What is the lifespan of resilient flooring?
Lifespan varies with product construction, wear layer thickness, traffic levels, and installation quality. Properly installed and maintained VCT, for example, can last 15-20 years or longer. Check the manufacturer-rated service life for your specific product.